Process Status Analysis – the first steps
I am pleased to announce my first cross-platform and open source project, the Process Status Analysis tool, available on GitHub.
The Process Status Analysis (psa) is a command line tool that offer some Operating System processes analysis features:
– Get all processes loaded in memory information
– Get process only used memory
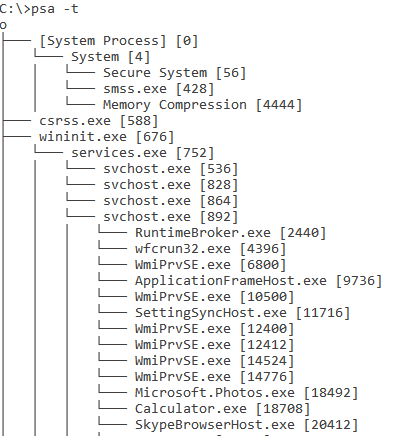
– Print processes tree
– Top most “expensive” processes
– Redirect output to a file